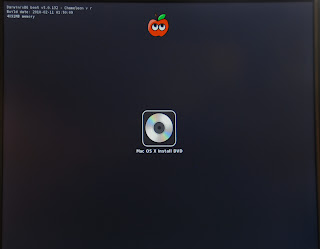
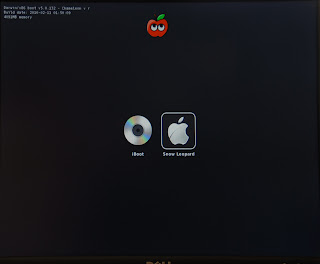
참조
참조랄껀 아니고 그냥 쭉 그대로 설치하면 내경우 30분만에 설치 끝냈다.
보드 : 965p-ds3
HW Config
I. Mobo: GA-965P-DS3:
- Chipset: Intel P965+ ICH8
- LAN: Marvel (AppleYukon2.kext)
- Audio: Realtek ALC883 (AppleHDA.kext)
- S-ATA2: JMicron JMB363 (AppleVIAATA.kext)
- VGA NVidia Geforce 8800GT 256 MB
II. Disk:
III. CPU: Intel Core 2 Duo E6300 @1.86 GhzIV. RAM: 2 GB DDR2 PC6400 800Mhz Patriot
V. Video:
사전 준비
1.공CD에 iboot 굽는다.
2.듀얼레이어에 snowleopard 굽는다.
3.적당한 usb메모리나 공cd 하나더 준비해서 거기에
multibeast, dsdt, chameleon, kext등을 넣어둔다.
_M#]
* 별책부록 : 아래는 수동으로 kext를 수정하여 랜카드 설정 부분.
Configuring Networking
For working Marvell 88E8056 Ethernet you have to edit the Info.plist inside :
IONetworkingFamily.kext/Contents/PlugIns/AppleYukon2.kext/Contents/
sudo -s
Your password, then
nano /System/Library/Extensions/IONetworkingFamily.kext/Contents/PlugIns/AppleYukon2.kext/Contents/Info.plist
find this string : [Tip: if you use nano it's easier to find this string if you press ctrl+w (whereis option) and type "53" then press Enter.]
Code: <string>Marvell</string>
</dict>
<key>Yukon-88E8053</key>
<dict>
<key>CFBundleIdentifier</key>
and replace 3 with 6
then find :
Code: <key>IOPCIPrimaryMatch</key>
<string>0x436211ab</string> and replace 0x436211ab with 0x436411ab (2 with 4)
then finally replace the "3" from
Code: <key>Model</key>
<string>Yukon Gigabit Adapter 88E8053 Singleport Copper$</string>
with "6" so it will look like this:
Code: <key>Model</key>
<string>Yukon Gigabit Adapter 88E8056 Singleport Copper$</string>
save the file, chown and chmod the extensions:
Code: chown -R root:wheel /System/Library/Extensions/*
chmod -R 755 /System/Library/Extensions/*
and reboot
* 별책부록2 : 만일 부팅 중(-v)
panic(cpu 0 caller 0x2F13DB9C): "No HPETs available...CPU(s) configured incorrectly\n"@/SourceCache/AppleIntelCPUpowerManagement-39/pmThread.c:100
Debugger called:<panic>
라고 뜨는데 iboot로 안전 모드 부팅(-v -x -f) 해서
rm -r system/library/extensions/AppleIntelCPUpowerManagement.kext
로 삭제 해버리고 부팅하면 공포의 패닉은 일단 사라짐.
* 별책부록3 : TONY 사이트의 iboot와 multibeast로 설치 하는 강좌. iboot와 multibeast도 여기 다 있음.
 iBoot.zip
 MultiBeast.part3.rar
 MultiBeast.part1.exe


